I apply simple rules when it comes to managing new emails in my inbox. If a message isn’t deleted or read, it’ll typically end up in my archive folder. As time goes by, subscriptions and newsletter emails will flood my inbox, and eventually important emails will be buried somewhere in the mix.
Instead of moving important emails to a separate folder, I prefer to flag them. I can filter them from less important emails using a new filter button in the Mail app in iOS 10. You can filter emails which have been flagged, filter to only show emails with attachments, or that come from VIP contacts. Here’s how to use the handy filter feature within Mail in iOS 10:
How to activate email filters within Mail in iOS 10
- Open Mail
- Tap on All Inboxes (note, this can be done on individual Inboxes as well)
- Tap on the button with 3 horizontal lines on the bottom left corner to activate email filters

You can tweak the email filter settings to exclude or include certain email accounts, only show emails with attachments, and more. After activating the filter with the steps above, you then can configure the filter settings.
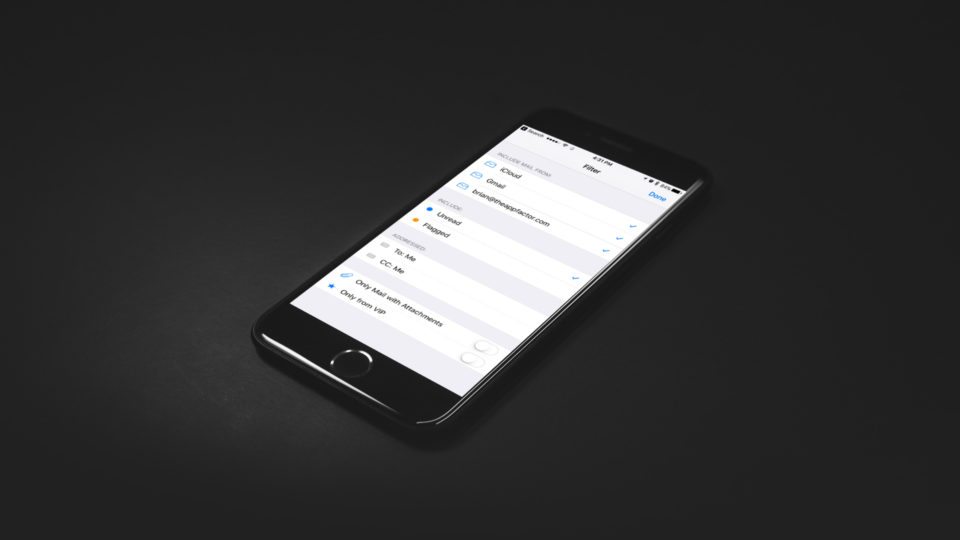
How to configure email filter settings
- Tap on the bottom bar labeled “Filtered by:”
- Here you’ll be presented with Filter options like including or excluding certain email accounts, and much more.
- Tap Done

Have you used this filter feature in Mail?
The filter feature has saved me a lot of time, in that I can bring up important emails faster and easier. Unlike some 3rd party email clients, which let you create smart folders based on keywords, email filters within Mail are a different way to get back some sort of order within your inbox.
I’m excited to see if Apple improves upon this email filter feature in the next iteration of iOS. Do you find email filters in iOS 10 useful? Let me know your thoughts in the comments below!
